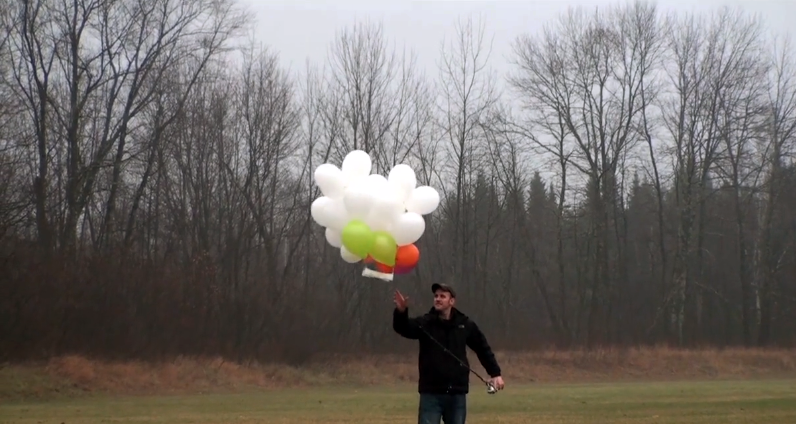
Tom Guilmette is a cinematographer who has a creative trick for getting incredible aerial video using a few cheap materials and helium balloons.
We’ll admit that when we first discovered this video, we were skeptical on how good the quality of the footage would be compared to high end drones and other “professional” aerial photography methods. Let us say this: The footage is incredible! If you didn’t know better, you wouldn’t be able to tell the difference between the video produced with the helium balloons and the far more costly methods of getting aerial shots.
So if you want to try this at home, here’s how to get perfect aerial shots using helium balloons, some styrofoam, a camera, and a fishing pole.
What you’ll need:
• 30 11-inch latex balloons
• Helium (We can provide the helium for you!)
• A fishing (spinning) rod spooled with at least 12-lb. test fluorocarbon
• A styrofoam block
• Your camera (GoPro or smart phones work best)
1. Create the base
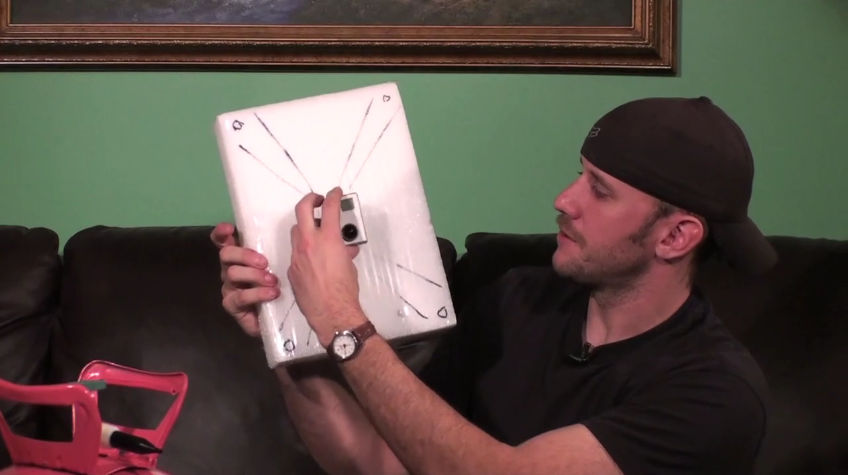
First, draw out a template on the styrofoam block. After tracing the compartment that will hold the camera in the center, make an X shape as seen in Tom’s video.
Cutting the styrofoam in an X shape not only keeps the craft stable, it removes excess weight that would require additional helium balloons to support.
Next, carve out the camera compartment. This hole should be tight enough that the camera can simply be wedged in and held secure. You don’t want to have to add glue or adhesives to your camera, so always cut smaller and slowly increase the size of the space if needed. Test that the camera fits very tightly, but do not leave the camera in the styrofoam at this point.
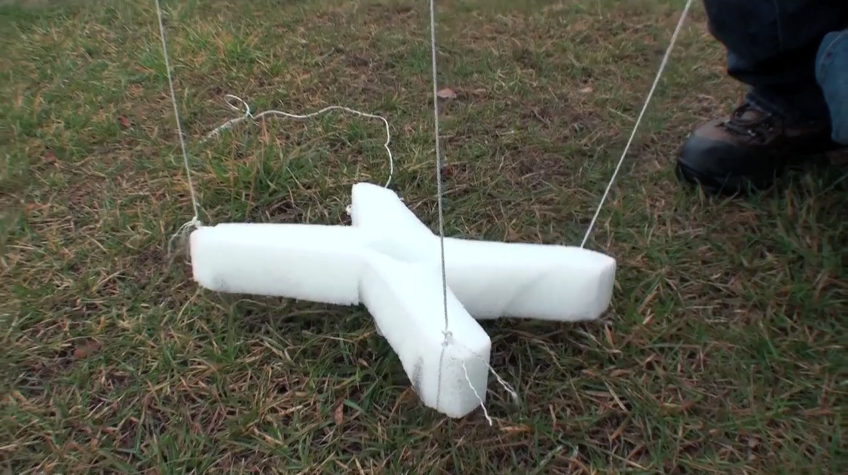
Finally, drill a hole into each wing of the styrofoam X.
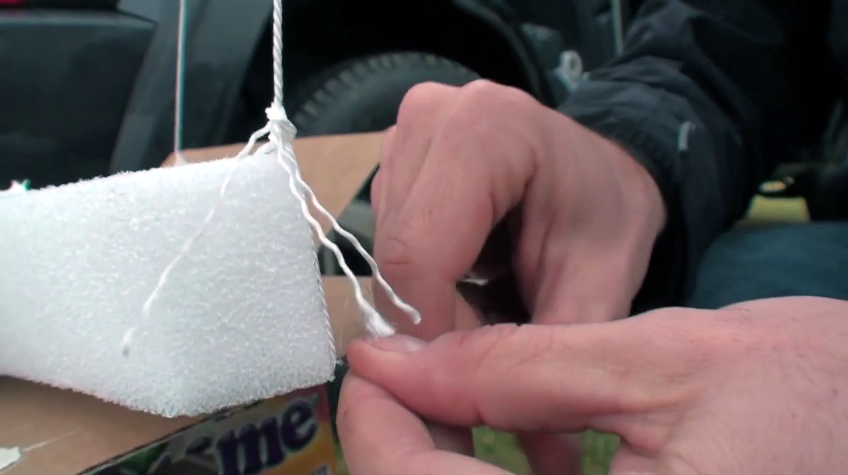
2. Tie the strings
Thread a length of string through each hole in the styrofoam X, loop it back around and tie it off. Repeat until all four strings are tied to the X base.
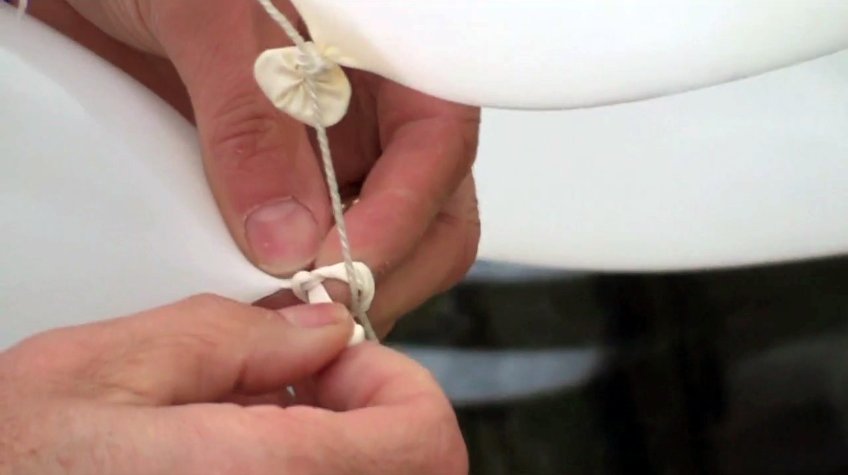
3. Fill the helium balloons
Time to fill the helium balloons. TIP: When tying the balloon knots, a good tip is to tie the knot right around the string that will be supporting the styrofoam base. Doing this saves lots of time and after the first one is secured to the string, it will hold the string up for you to more easily attach the remaining helium balloons. For level flying, always keep an even number of balloons on each of the four strings. You’ll also want to have a friend hold the base or tie it down while you attach the balloons so that it doesn’t float away on you.
4. Bait your rod
The fishing line should now be tied around one of the strings of balloons, on the side of or underneath on of the corners of the X base. (If you tie the fishing line directly to the styrofoam, you could risk it cutting through the styrofoam when you’re reeling the craft back in.) TIP: You’ll find it best to use a spinning rod, which allows you to open the spool so that the entire rig can float freely toward the sky. Fluorocarbon line is essential for its invisibility. You don’t want to see the fishing line in your footage.
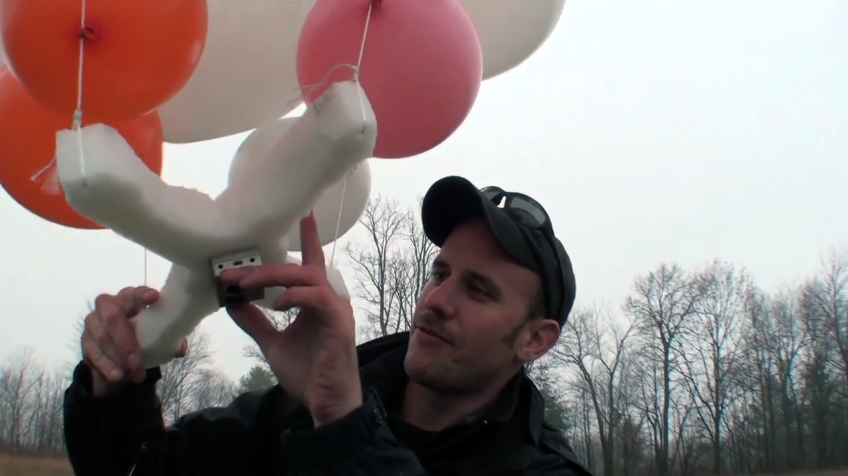
5. Insert the camera
Finally, wedge your camera into the compartment you cut out of the styrofoam (facing down, of course). Make sure the camera is on and recording!!! You’re set to fly. TIP: If you’re using a GoPro, you can use the GoPro app on your phone to live stream the footage that the camera is taking so that you can see what you’re shooting.
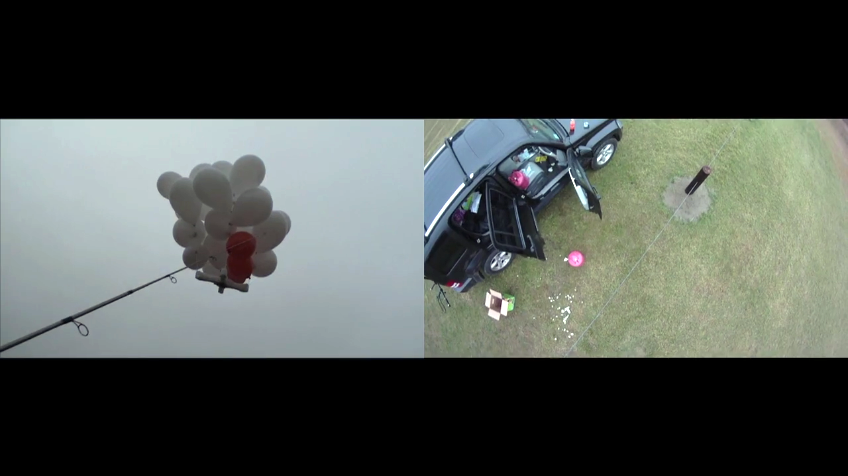
6. Flying the helium balloons
Release the rig and open the spool on your spinning rod. If your aerial footage rig isn’t ascending, add a few more helium balloons to get it floating.
When you’re done shooting, slowly reel the whole thing in. Don’t reel too fast, you don’t want to risk breaking the line and waving goodbye to your camera.
One important point to remember – if you’re going to do this, make sure it’s not windy outside!
And even though Tom does it in the video, please don’t ever inhale the helium or you’ll be risking an ambulance ride.
Seriously. People die from it.
Sources: Tom Guilmette

