

Want to know how to make a foil balloon arch? This is the easiest instruction on the web. Build a foil balloon arch in under 30 minutes – no helium needed!
Of course if you do need helium for your stores, you can always get a free quote from us.
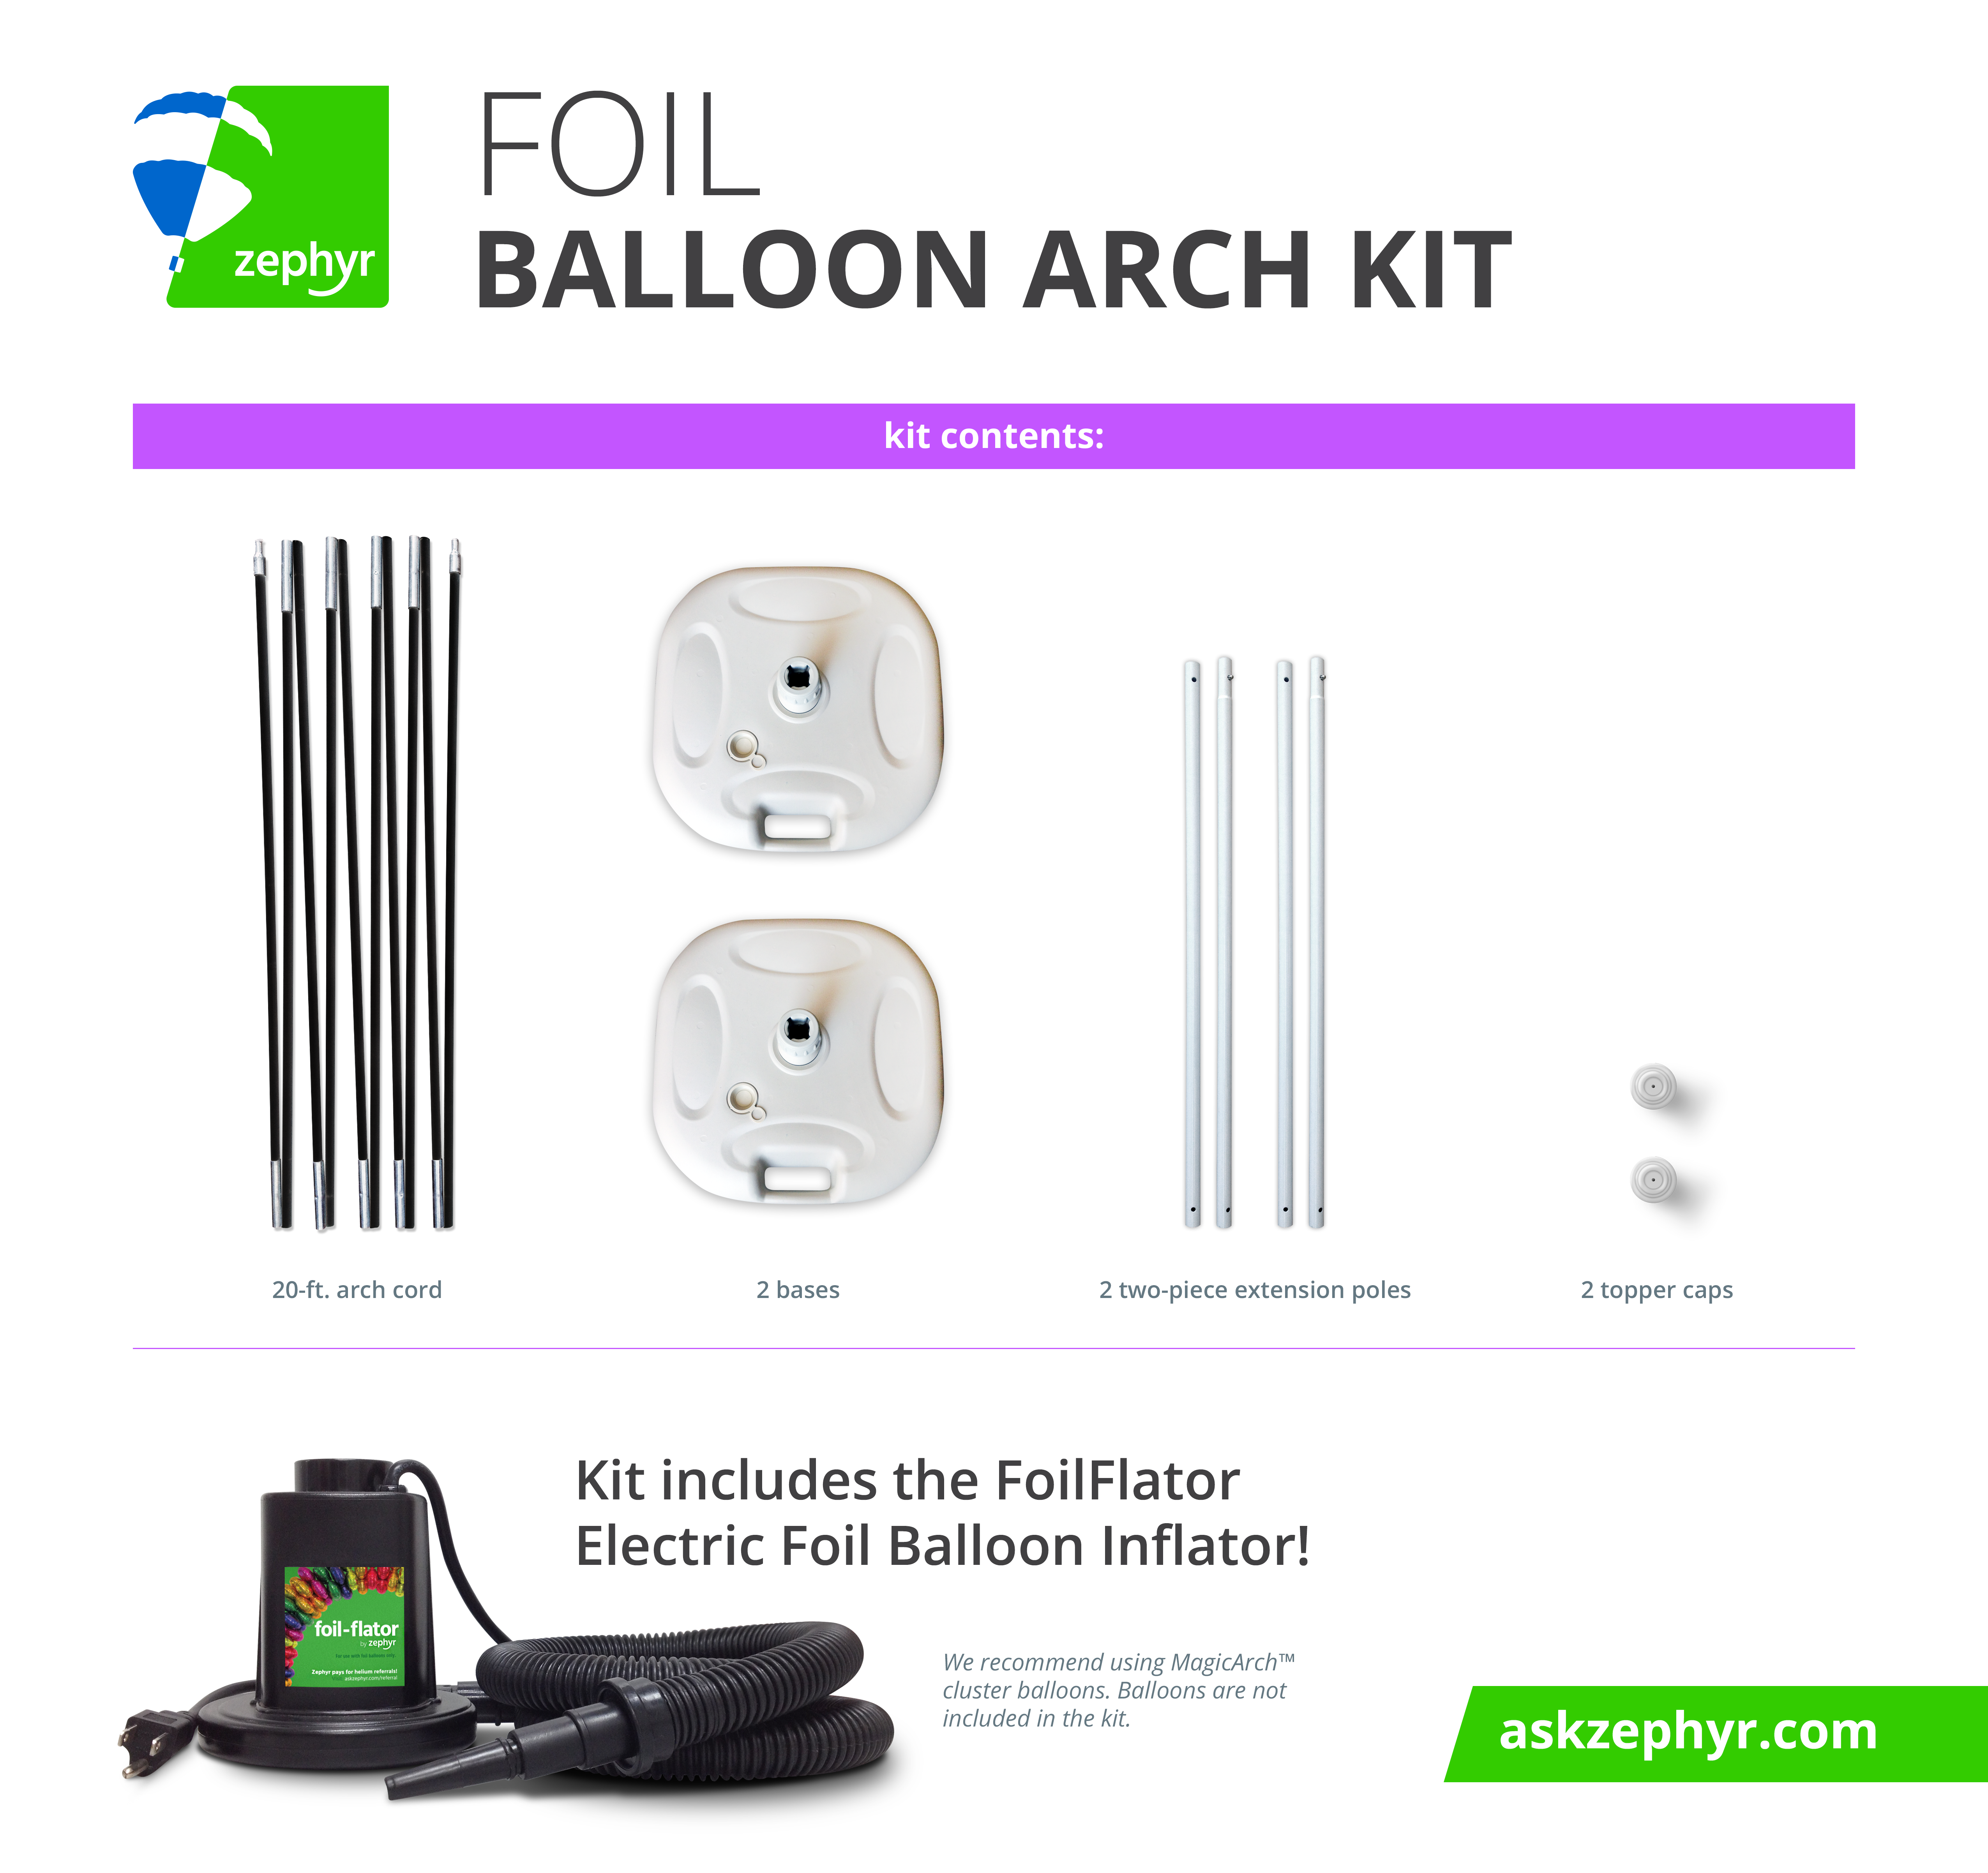
Inside the foil balloon arch kit
First off, let’s quickly go over what comes in a foil balloon arch kit. Inside, you will find:
- FoilFlator electric balloon inflator
- A 20-foot black arch cord
- 2 bases
- 2 two-piece extension poles
- 2 topper caps
- Instructions
You do not need helium!
Zephyr recommends using Anagram’s MagicArch™ foil cluster balloons, which make foil balloon arch assembly a breeze. Decide if you want a thick or a skinny foil balloon arch and use our handy arch and column calculator to determine how many balloons you will need.
Wide or tall foil balloon arch?
Before you start to assemble your foil balloon arch, take a look at your space. How wide do you want your foil balloon arch? Are you limited in height? Then make a wider, shorter foil balloon arch. You can do all of this using the same kit – it’s simple.
- If you’re using large cluster balloons, reference our Large Foil Balloon Arch Kit Measurement Guide.
- If you’re using small cluster balloons, reference our Small Foil Balloon Arch Kit Measurement Guide.

Build your foil balloon arch!
Let’s build. Below are the step-by-step instructions for how to make a foil balloon arch. (You can also download a printable PDF of these instructions here.) This will be much easier with the help of a friend, by the way.
SET UP THE BASES
- Remove the pole receptacle from the bottom of each base.
- Place bases near the location you’ll want them, either 11 feet, 10 feet, 9 feet, or 8 feet apart.
- Fill the bases with sand, cat litter, or marbles.
- Insert the pole receptacle into the center of each base and turn to lock.
INFLATE YOUR BALLOONS
- Insert the tip of the FoilFlator into the valve cavity on the foil balloon.
- Look for a thin, white edge on valve opening and place inflator tip going in that direction. Tip needs to be inserted in the correct direction or balloon will not inflate.
- Inflate. (The FoilFlator has an automatic back-flow device so you cannot over-inflate or pop the balloons.)
- Once inflated, remove balloon and turn the inflator off.
BUILD YOUR FOIL BALLOON ARCH
- Using the female-ended pole, insert half of an extension pole into the pole receiver. (You will not need the upper halves of the poles for this application.)
- Turn the top of the pole receptacle to tighten around pole, securing it in place.
- Assemble the arch rod. Insert each black rod into the silver connector between each rod to make one long arch cord and lay it on the ground.
- On each extension pole that you mounted to each base, thread your cluster balloons on until the poles are full.
- Thread remaining balloons on the bendable arch cord.
- (Get a friend for this part) Lift arch cord from both ends while keeping gentle tension on the cord from both sides. Too much pressure will pull the cord apart.
- (Person 1 and 2) Maintaining gentle tension on the cord from both ends, lift the foil balloon arch cord together and slowly bend to create an arch.
- (Person 1) Insert one end of the arch cord into the top of the extension pole and slide all the way down. Hold base securely until the arch cord is inserted into the other base.
- (Person 2) Slowly bend the arch cord and insert the free end into the top of the extension pole in the second base. Slide all the way down inside the pole.
You did it! Take ten steps back and admire your foil balloon arch. That wasn’t so bad, was it? If you’re feeling up to it, we’d love to see your design. Take a photo and post it on our Facebook page!